ARC Adjustable Hub Flywheel
Instruction Sheet for PVL Ignitions

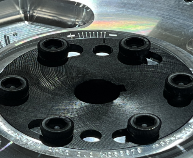
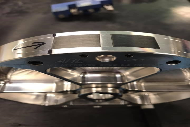
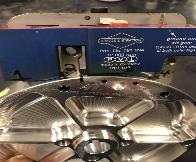
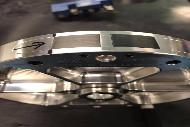
Prior to Installation, it is recommended to "LAP" the crankshaft and flywheel together with light to medium grit lapping compound to ensure that the maximum surface contact between the flywheel hub and the crankshaft is achieved. Lapping should not be done for more than 30-45 seconds and be sure to clean both tapers very well before installation. Once the starter nut is properly torqued to 65 ft/lbs, timing can be easily adjusted by loosening the 6 allen head bolts on the hub and turning the flywheel to the desired timing. The ARC Adjustable Hub Flywheel will be at approximately .29 BTDC when installed with a standard key and the index mark on the hub is turned to the most negative setting on the timing scale. Each mark on the timing scale is worth +2° from this point giving you as much as 14° total additional advance. The trigger point is the position of the magnets in the relation to the flywheel. When you have a degree wheel properly installed on the PTO side of the engine with a top-dead-center indicator, it will show you the degrees of advance by turning the crank until the flywheel is lined up with the trigger point of the coil. The pictures below show the trigger point of the PVL coil WITH THE ARC FLYWHEEL. (NOTE: not the same as the stock flywheel). The PVL coil does not lose timing as RPM increases like standard magneto coils so extreme timing advance will not be necessary. Typically 28-29 deg with most Gasoline fuels, and 30-32 deg with Methanol. Additional tuning will be necessary to get the most out of this advanced ignition curve. Also, be advised that the PVL coil retards ignition timing at very low RPM to aid starting, so you must increase RPM above 1800 in order to get accurate reading with a timing light.


Amundsen Research Corp.

